If there were a list of delicious street foods from around the world, coxinhas would be high up there for sure. These little fried teardrops of dough just burst with flavor when you bite into them. A Brazilian friend of mine even said they are his favorite food period!
Legend has it that they were invented because of a picky little prince. He wouldn’t eat anything besides the thigh when he ate chicken(the modern version would be chicken tendies). One day the kitchen was all out of thighs. So, a chef invented these fried morsels, made to resemble the shape of a chicken thigh, and filled them with chicken meat the child would not eat normally. He loved them, and so did Empress Teresa Cristina, who ordered her kitchen to learn how to prepare coxinhas.
Jump to Recipe

Tips For Making Coxinhas
If you don’t read everything, I’ll leave some tips here to ensure your dinner party is a success.
- The dough is easiest to work with if left in the fridge overnight
- If you are having trouble shaping the dough, the egg wash and breadcrumbs will help you mold it
- Don’t make the dough too thick at the top or you will have raw dough in the middle
- Experiment some with your own fillings (ground beef and cheese is a really popular variety)
Step By Step
The Filling
For my first coxinhas, I wanted to try the traditional way (next time maybe I’ll do cheeseburgers). We are going for a savory chicken filling here. I used chicken thighs as dark meat tends to be more forgiving to work with. If you spend your afternoon making these things only to bite into dry chicken in the middle, that would suck.
From here I’m going to build layers of flavor. Garlic and onions, because of course. I’ve seen parsley come up as a traditional ingredient, so I’m adding that as well, along with green onions for some extra zest and color. Finally, some cheese to provide extra fat. In Brazil, the most common is catupiry, a type of cream cheese. I went with ricotta, but regular cream cheese works too. Occasionally, you will find tomato sauce in the filling too, which would provide a nice acidity, but would make the filling more liquid and harder to encase in dough.
To start, take the skin off your thighs and save for later. Heat up a pot of chicken broth and drop your thighs in. This has 2 pluses for your coxinha. First, it will cook the meat so you can shred it off the bone. Second, it will add more chicken flavor to your broth, which will be used later to make the little dumpling package things (wrappers?). This should take about 15 to 20 minutes. During this time, I would chop the other ingredients and get your flour ready.
Start The Dough
Take your chicken out of the broth and set aside to cool so you can shred it. Then, take 2 cups of the still hot broth and mix it into your flour. Keep stirring until you have made a shaggy ball of dough. Cover, and put in the fridge for at least 1 hour to make your dough workable. Or, if you want to make coxinhas over 2 days (which is much less stress), leave in the fridge overnight. Back to the filling!

Finish The Filling
For an optional step, I quickly fried the chicken skins in a skillet and then crumbled them to add to the filling. Otherwise, add a little olive oil to a skillet and start browning your onions and garlic. Once you are satisfied with their doneness, add the green onion, parsley, and chicken. Cook it just until it is all hot. Season to your liking. I used just salt, pepper, and cumin. Stir in your cheese well. Also, you can add some lemon juice for acidity. Now, you are ready to fill the packages.

Make The Coxinhas
This part was really tricky for me, the dough can be sticky. First, flour your hands and workspace. Don’t do it too much or you will have trouble pinching the coxinhas closed at the top. Now, break off a piece of dough about the size of a golf ball. Flatten it in your hand. Put a tablespoon of filling in the center. Then, pull at the edges and stretch it into a tear drop shape. If it doesn’t hold that shape it will be easier once you add the breadcrumbs.

The final steps are pretty simple. Dip your coxinha in the egg wash, roll it in the breadcrumbs, then drop it in a pot of hot oil at 350 degrees F. These cook surprisingly fast, so don’t step away. Take them out once they are a little past golden brown. If you made the dough packages too big, the dough can be raw in the center when the outside is cooked.
Some More Latin American Recipes
- Peruvian French fries (Salchipapas)
- Bandeja Paisa
- Baleadas
- Corundas
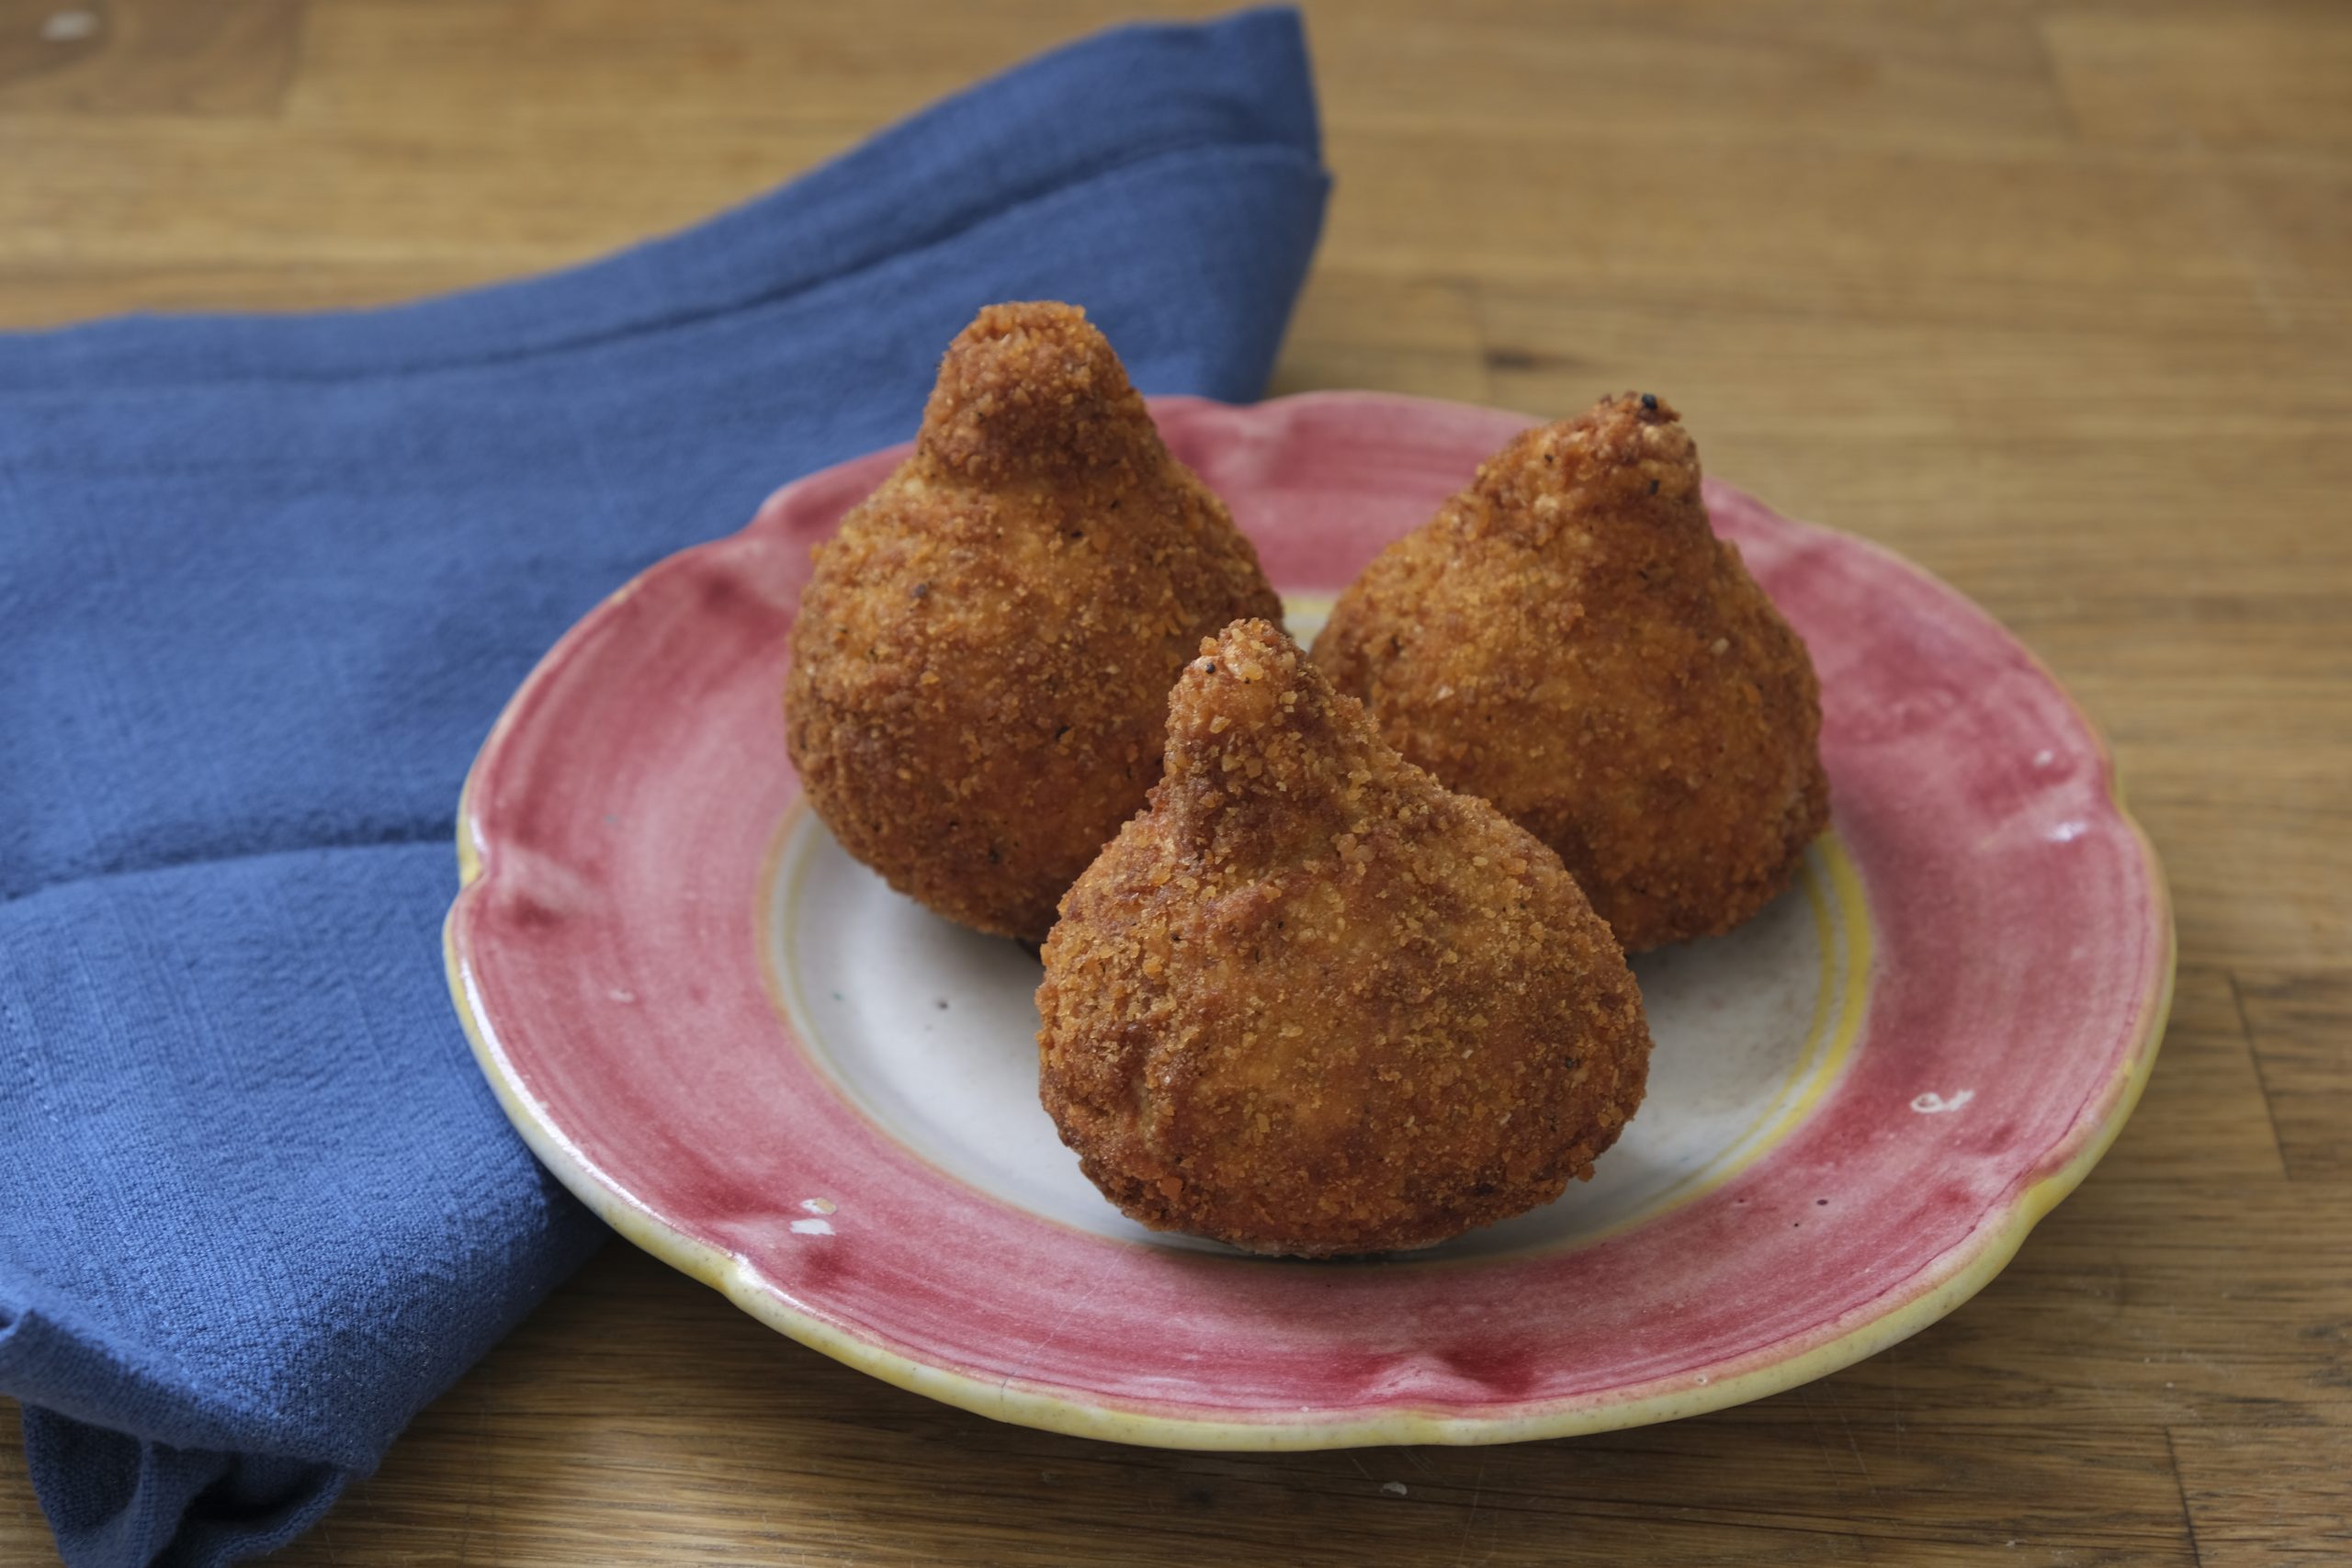
Coxinhas – Brazilian Deep Fried Chicken Croquettes
Ingredients
Method
- Take the skin off the chicken thighs and set the skin aside. Add chicken broth to a pot and heat up on medium heat. Add chicken thighs and keep at a low boil for 15 to 20 minutes, until thighs are cooked.
- Remove thighs from broth. Let them cool and shred the meat off the bone. Set aside.
- Add salt to the flour in a mixing bowl and stir. Add 2 cups of your still hot chicken broth to the flour and mix thoroughly. Once done, cover and put in the fridge for an hour.
- (Optional) Cut up the chicken skin. Add olive oil to a skillet and heat up on medium. Add the skin to the skillet and crisp up, about 2 minutes. Remove the skin from the skillet.
- Then, and yellow onion and garlic. Cook until onion is translucent, about 3 minutes. Add green onion, parsley, and chicken. Re-add the skin. Cook until the chicken is hot again.
- Season mixture with salt, pepper, cumin. Stir in the ricotta cheese so that it is evenly mixed. Add some lemon juice if desired.
- Flour your hands and workspace. Break off a golf ball sized piece of dough and flatten into a disc. Put about a tablespoon of filling in the center. Then, pinch the dough to close at the top, making a teardrop shape. Repeat until out of dough or filling.
- Dip your coxinha in a bowl of beaten egg, then roll around in the breadcrumbs so it is evenly coated. Repeat until all are covered.
- Heat up a pot of oil to 350F. Drop in your coxinhas, being careful not to crowd the pot. Fry the coxinhas for about 6 minutes, or until a little darker than golden brown. Remove from oil and cool. Enjoy!
This is terrible. You should add stock to flour and cook for aymeast 5-10 minutes. COOK the dough first.